Managing Shipping Zones and Shipping Class
Typically, the web developer will configure the shipping settings before handing over the website to the customer. If you are unsure about how to set up shipping for your products after reviewing the documentation, it is recommended to seek assistance from the developer.
Shipping Zones
Adding a new zone
Go to: WooCommerce > Settings > Shipping > Shipping Zones.
Select Add shipping zone at the top.

Enter a descriptive Zone Name, and select Zone Regions that apply. Regions can consist of: a) Countries, b) States, c) Continents.

Select which Shipping Methods are available to this zone.
Save changes.
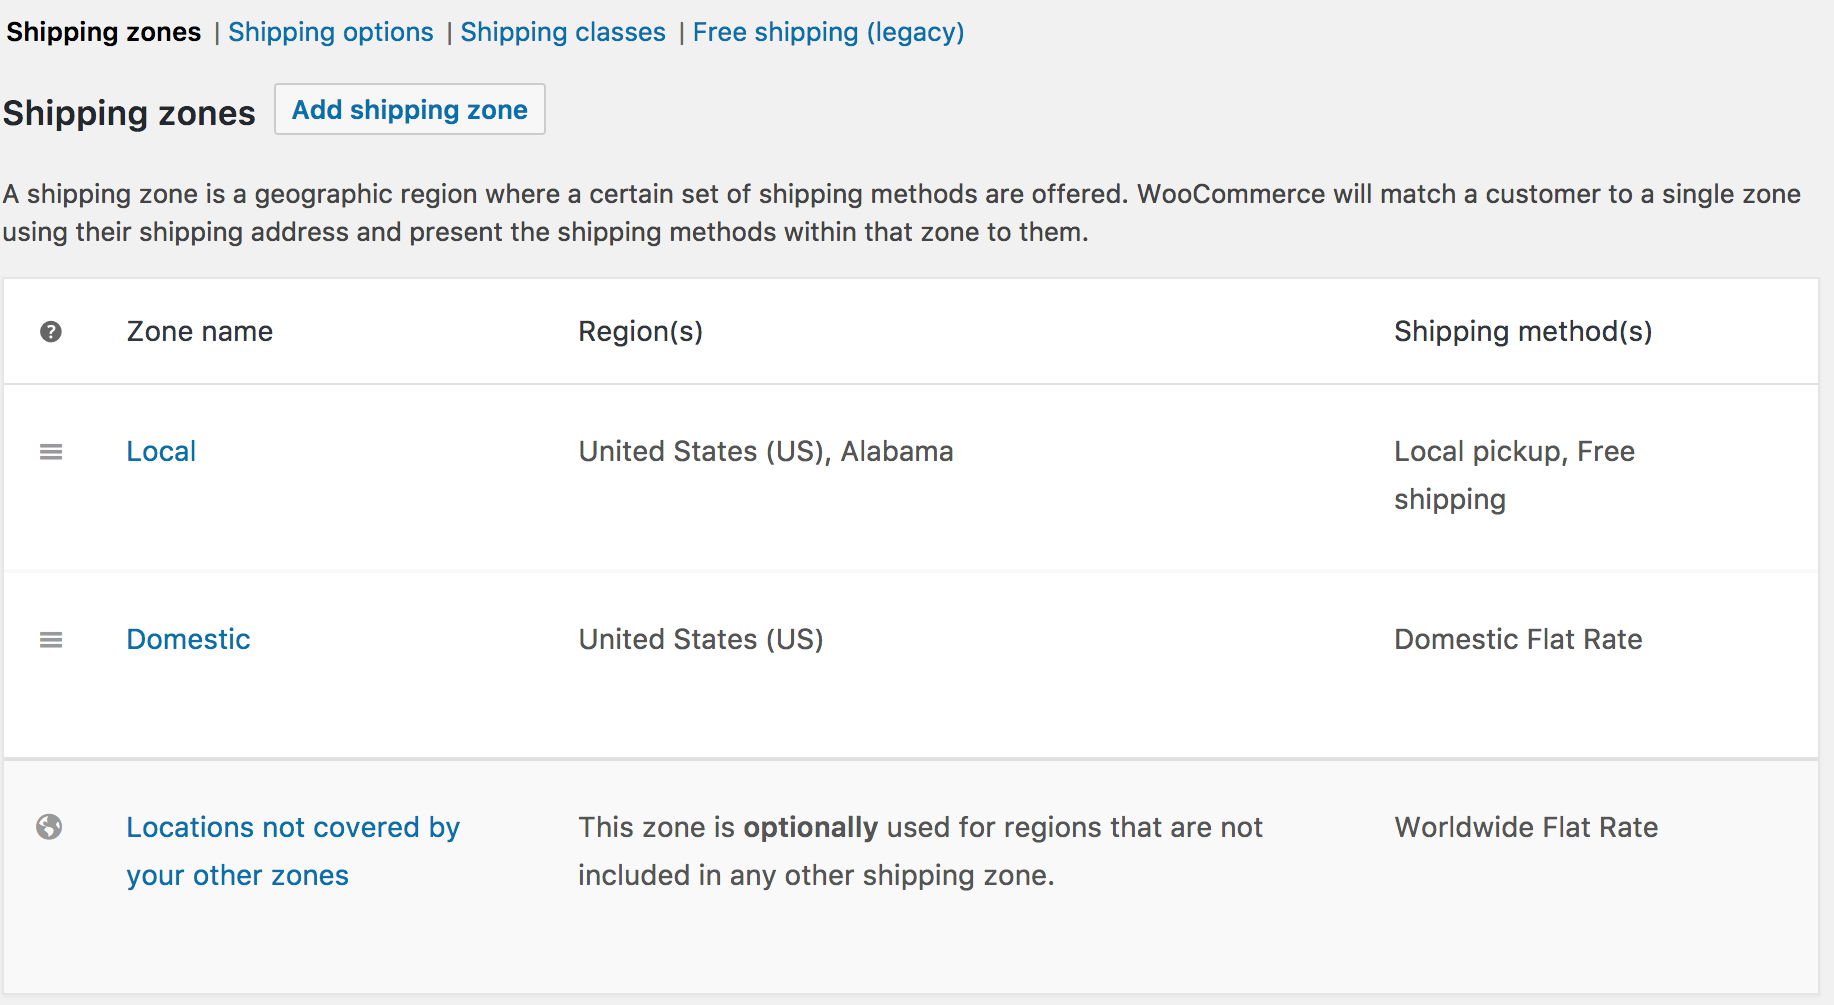
In the below example, we created three zones – Local, Domestic, and North America – to demonstrate how zones can be set up.

Sorting shipping zones
Shipping zones match customer address from top to bottom — the first to match the customer address is always used. If no custom zones match, then Locations not covered by your other zones is used.
To sort and reorder zones:
Go to: WooCommerce > Settings > Shipping > Shipping Zones.
Hover and click on the far left handles. A four-point icon appears on the screen.
Drag and drop.

Editing shipping zones

To edit a shipping zone:
Go to: WooCommerce > Settings > Shipping > Shipping Zones.
Hover over Zone Name, and the option to Edit and Delete appear.
Select Edit, and a screen appears so you can change the name, regions or shipping methods.
Save changes.
The Locations not covered by your other zones section cannot be moved, renamed or deleted because it acts as a default when no other zones apply.
To delete a shipping zone:
Go to: WooCommerce > Settings > Shipping > Shipping Zones.
Hover over Zone Name, and the option to Edit and Delete appear.
Select Delete, and the Shipping Zone is deleted.
Adding shipping methods to zones
To add a shipping method to an existing Shipping Zone:
Go to: WooCommerce > Settings > Shipping > Shipping Zones.
Hover over the Shipping Zone you wish to change, and select Edit.
Scroll down to Shipping Methods on the screen that appears.

Disable an existing Shipping Method by using the button. Or select Add Shipping method to use a different one.
Save changes.
Removing shipping methods from zones
To remove a shipping method from a Shipping Zone:im
Go to: WooCommerce > Settings > Shipping > Shipping Zones.
Hover over the Shipping Zone you wish to change, and select Edit.
Scroll down to Shipping Methods on the screen that appears.

Hover over the Shipping Method you wish to remove, and select Delete.
Save changes.
Sorting shipping methods
The default Shipping Method for customers is the top listed, enabled shipping method in the zone that they match. All the selected shipping methods will be sorted in the cart page, in the same order you followed in this screen.

Drag and drop to reorder shipping methods using the handles on the left, then Save Changes.
How zones work for customers
Using these shipping zones and methods:

In the 90210 zip code in California, I offer Local Pickup and Free Shipping.
In the United States, I offer a Domestic Flat Rate.
In Canada and U.S. international regions, I offer a different Flat Rate.
This is what your customers would see if they use the Calculate Shipping option:


Depends on your extensions from template or third party, the appearance could be varied in the product checkout page, but backend shipping setting is similar.
Shipping Options Setting
Multiple Shipping Zones & Shipping Methods
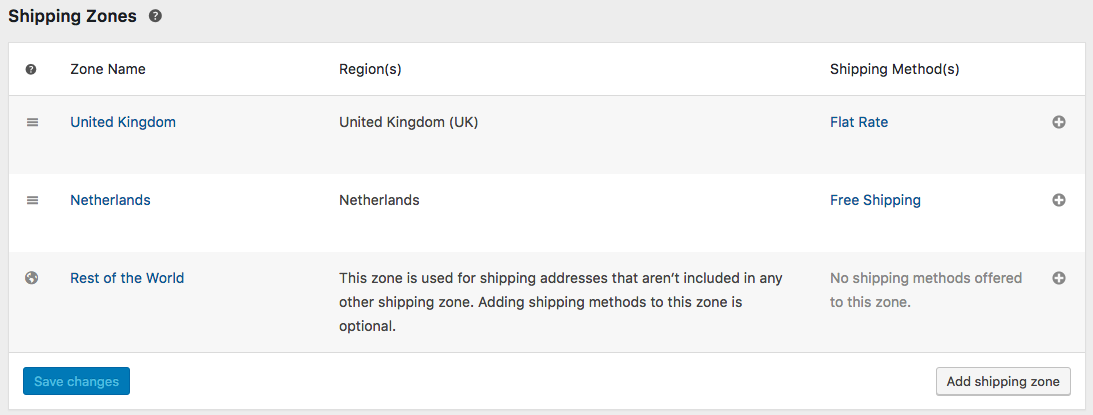
Let's say you have these multiple zones such as United Kingdom and Netherlands to ship with different shipping methods, you can set separately as follows:

Product Shipping Classes
Shipping classes can be used to group products of similar type and used by some shipping methods, such as Flat Rate Shipping, to provide different rates to different classes of product.
For example, with shipping classes and Flat Rate Shipping, it’s possible to create different flat rate costs for different product types, like bulky items and small items.
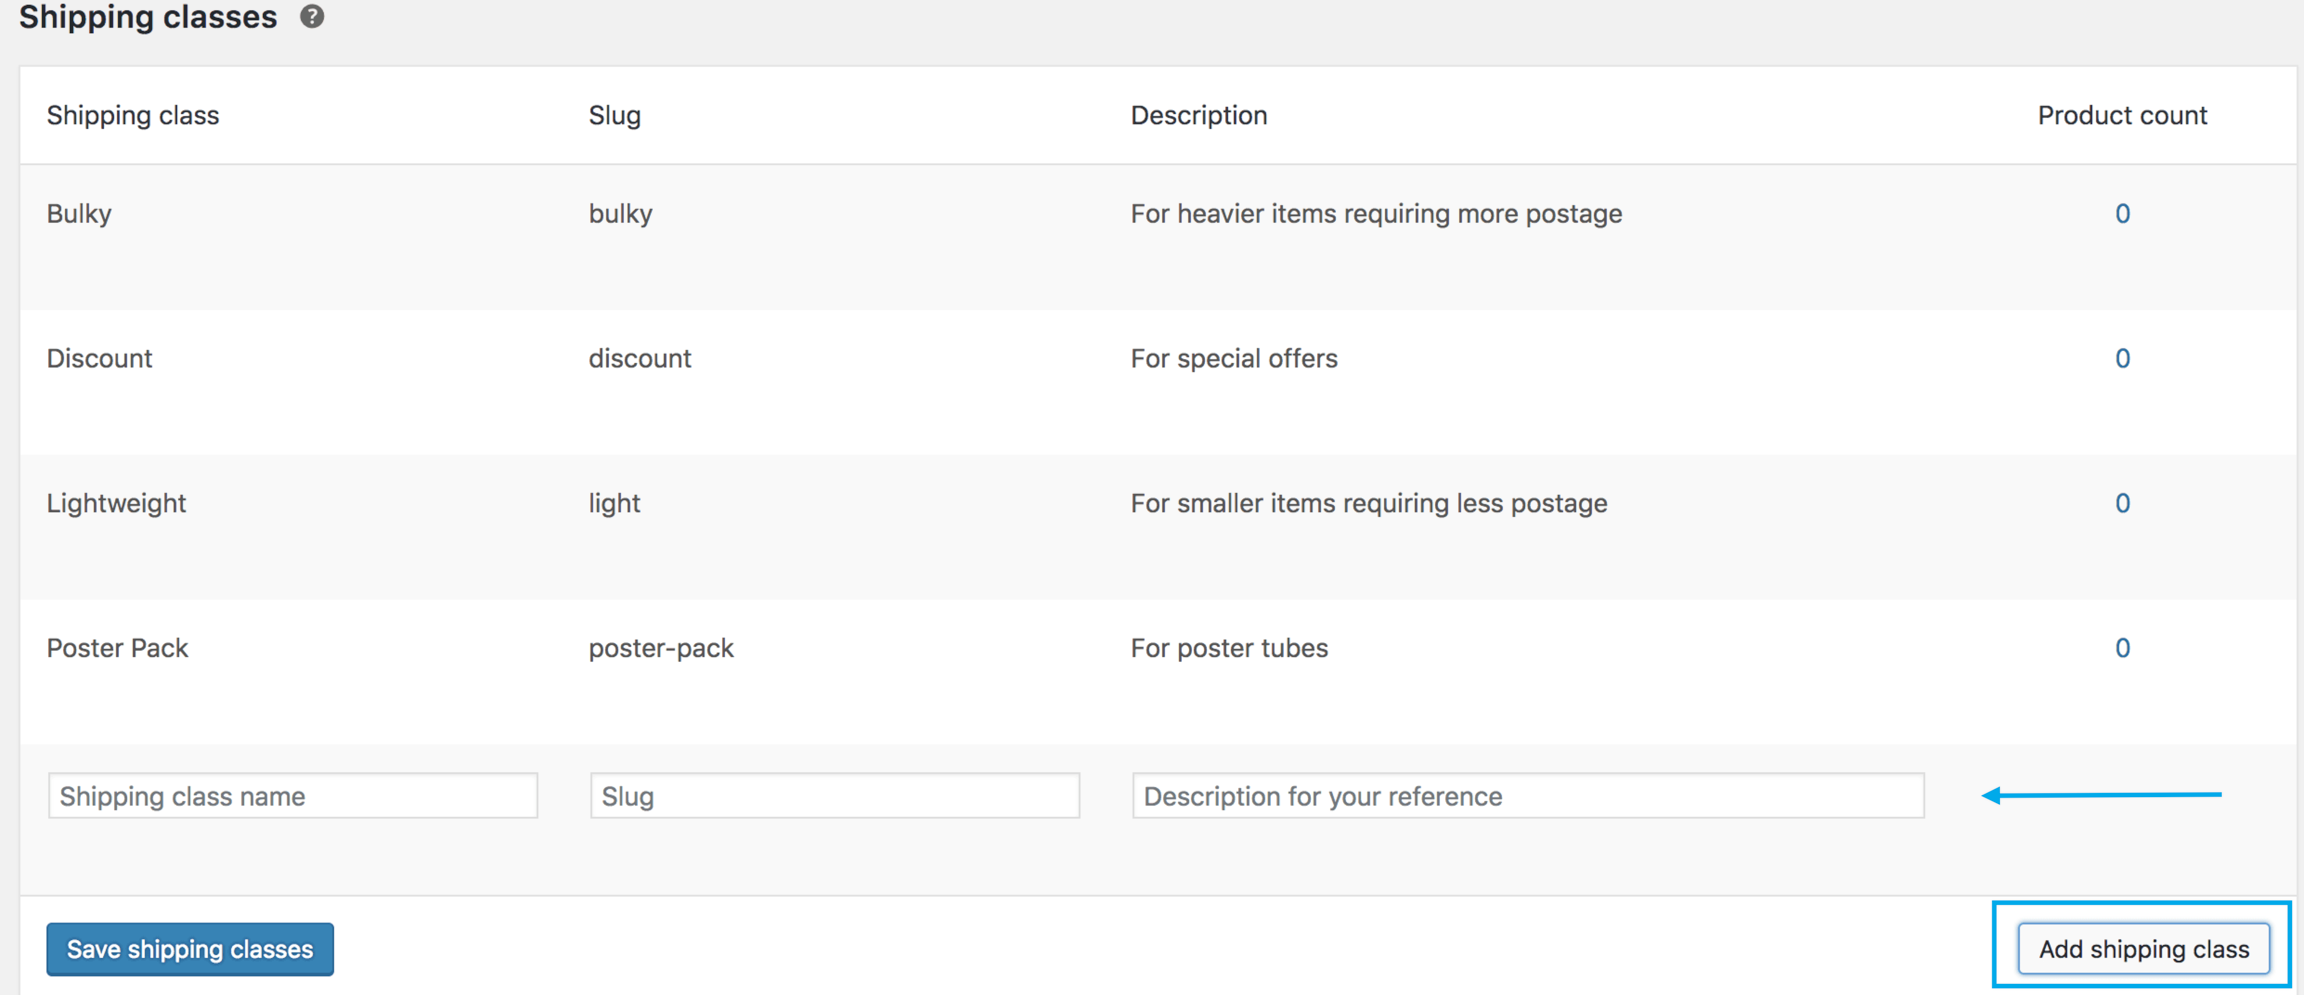
Add Shipping Classes
Go to: WooCommerce > Settings > Shipping > Shipping Classes.

The screen lists existing classes Select Add Shipping Class beneath the table. A new row appears.

Enter a Shipping Class Name and description. Slug (unique identifier) can be left blank and auto-generated, or you can enter one.
Save Shipping Classes.
Edit and Delete Shipping Classes
To edit or remove a shipping class:
Hover over Shipping Class Name. Options appear.
Select Edit to revise the name, slug, or description. Or Remove to delete the shipping class.

Save Shipping Classes.
Assign shipping classes to products
To apply these rates to a specific class of products (e.g., bulky or heavy items), you need to assign them.
Go to: WooCommerce > Products.
Select the product, and Edit.

Go to Shipping, and select the Shipping Class from the dropdown.


Each product can have one shipping class.
Update the product to save changes.
Bulk-Edit Shipping Classes
To bulk-edit shipping classes:
Go to: WooCommerce > Products.
Select the products you want to edit by ticking boxes on the left-hand side.

Select Edit from the Bulk Actions dropdown, then Apply. A new screen appears.
Select a shipping class from the dropdown.

Update to save changes.
Last updated